How to fix a microphonic pickup
Many players like to maintain their own guitars. If you are one of those we will try to help you wax pot your pickups at home and hopefully fix the problem.
⚠️ If you are not confident with tools or have some familiarity with guitar repair, then we do not recommend you try this at home. You are better off going to a professional guitar technician.
Tools and materials:
- Screwdrivers – Flat and crosshead
- Small bowl
- Electronic scale
- Pot – big enough for a colander to hold a pickup
- Colander that fits in the pot
- Hot Plate Stove
- Thermometer
- Beeswax
- Paraffin wax
- Soldering iron
- Naphtha
- Cotton wool

First step:
Remove the strings from the guitar, and gently unscrew the pickguard or the electronics backplate. Put every little screw in a small bowl so you won’t lose any….
Remove the plate or pickguard and expose the electronics.

Step two:
If you have no expertise in guitar electronics, we recommend you mark or take a photo of the electronics setup. This way, you can make sure not to make a mistake when reassembling.
Using a soldering iron, disconnect the wires leading from the pickup. Usually, they will be connected to a switch of some sort or to a potentiometer.

Step three:
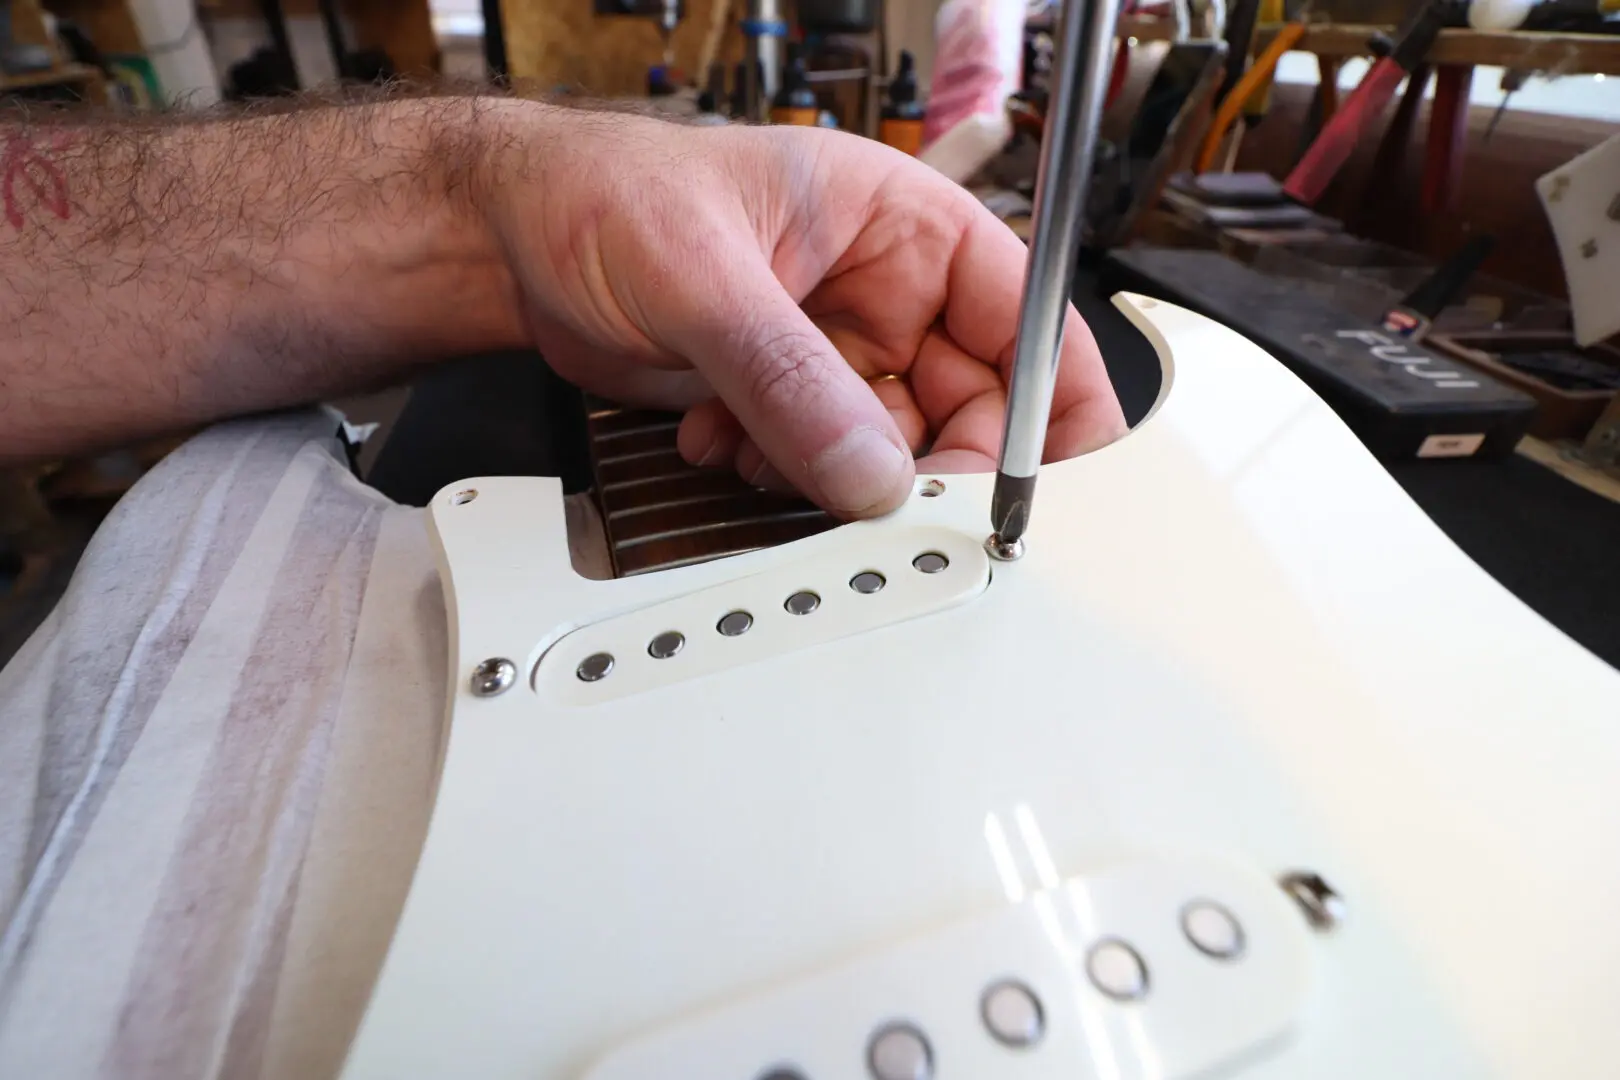
Using a screwdriver, carefully unscrew the pickup from the pickguard or from the guitar’s body. If you have a mounting ring – remove it and then remove the pickup that is installed on it.
Do this process very carefully! Do not touch the coil in any way!
Step four:
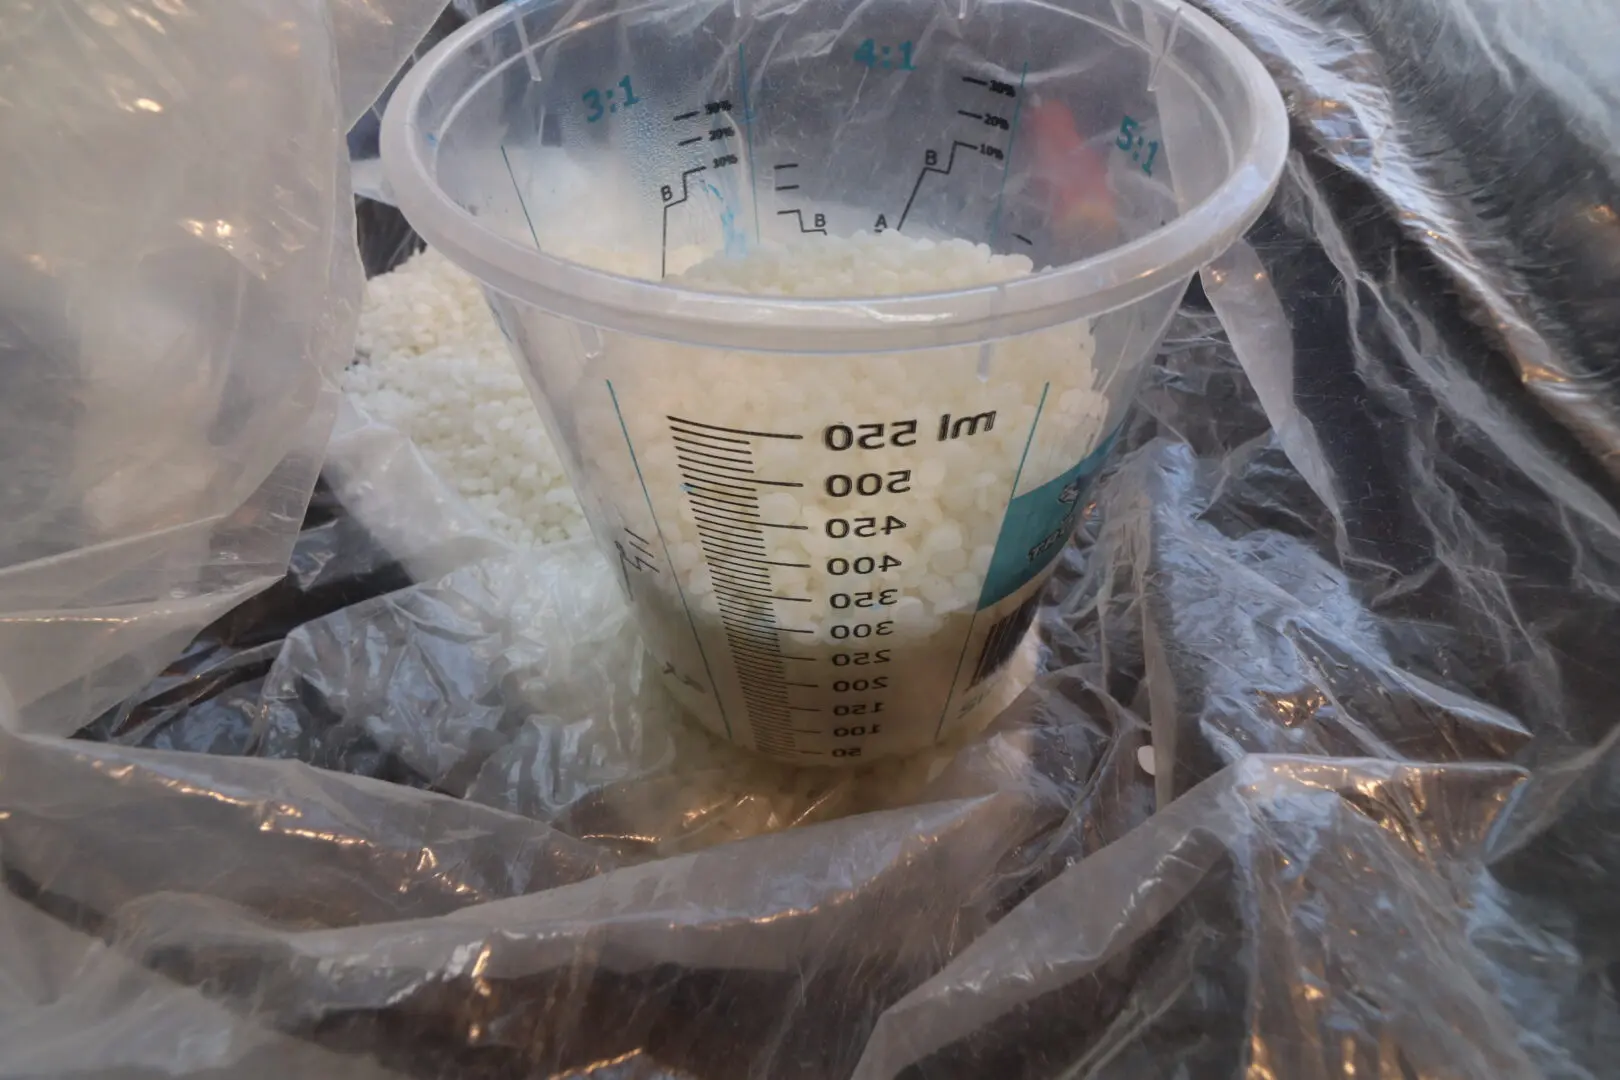
Using an electronic scale – cut and measure a paraffin and beeswax mixture in a ratio of 80/20. Fill the pot to a level of approximately 2/3 to 3/4.
Do not overfill as cleaning spilled wax from an overflowing pot is no fun…
It’s better to use too little and add wax as needed than to put too much and again make it overflow.
Step five:
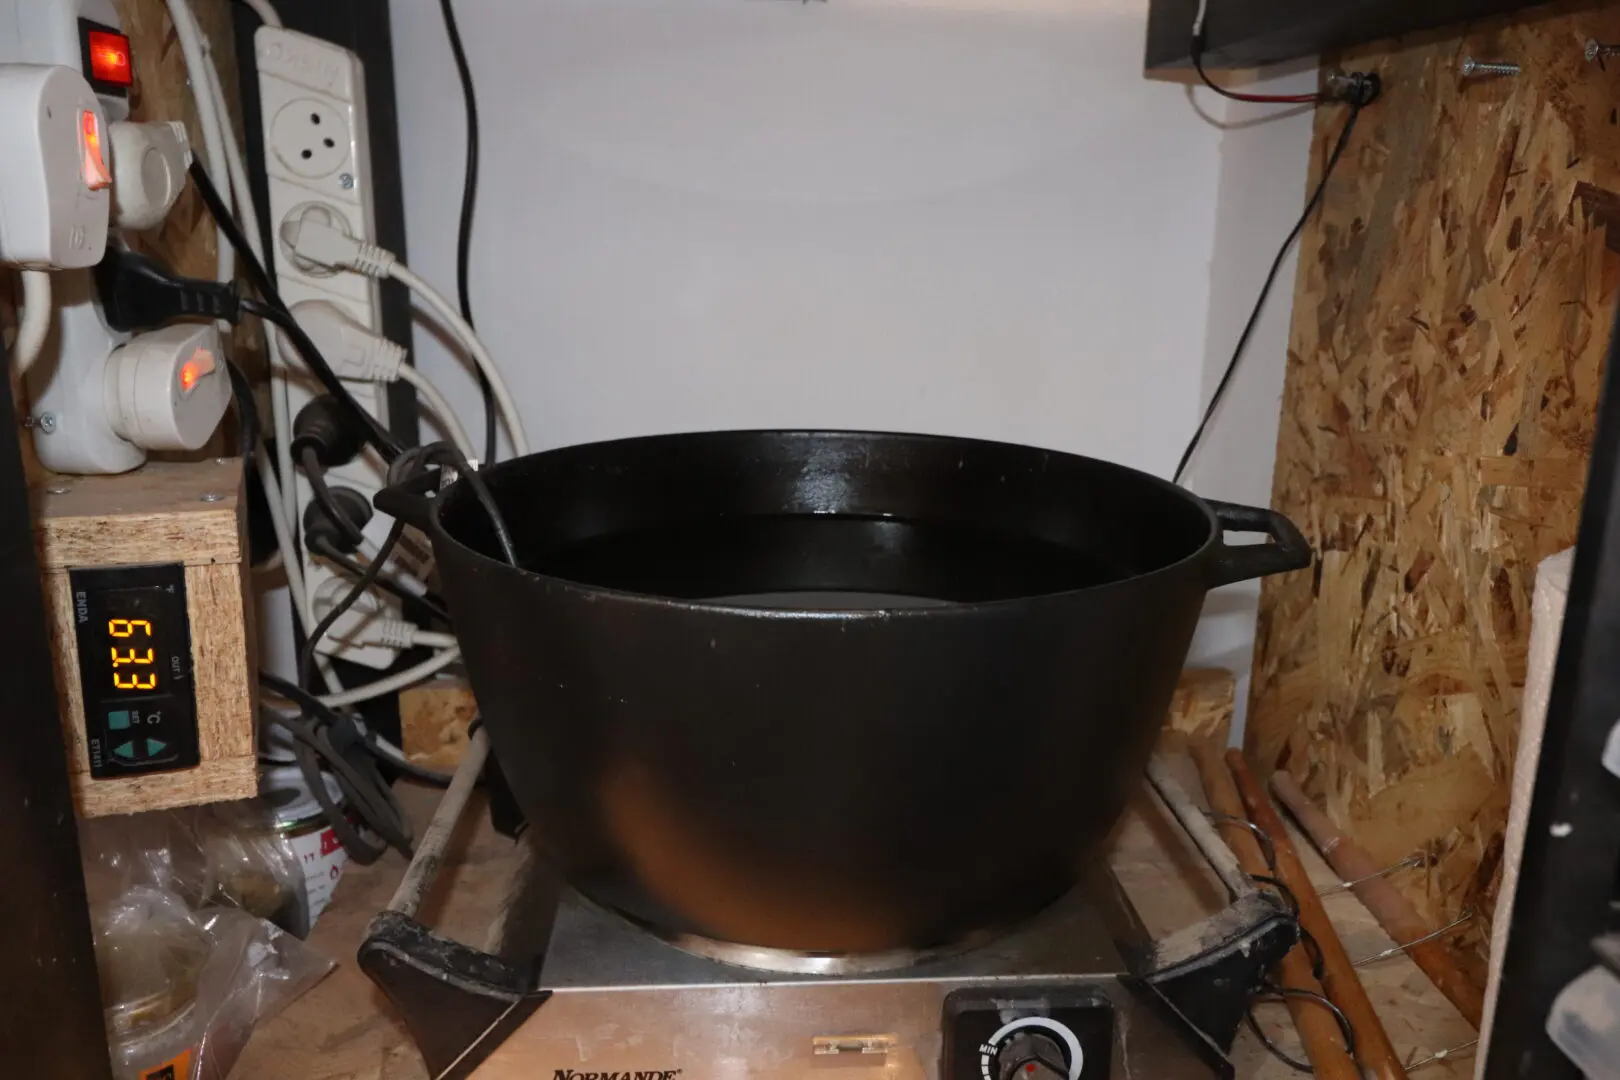
Place the pot on the hot plate – turning the heat on to just a little higher than the minimum. Remember that you are dealing with paraffin vapors and you really don’t want anything to ignite.
Place the thermometer inside the pot as the wax begins to melt.
Measure the temperature all the time (!!!) and keep it under 67 degrees Celsius (152,6°F). If you exceed this temperature, the bobbins might get warped in the heat.
It might take a long time to evenly melt all the wax. Be patient and take your time.
Step six:
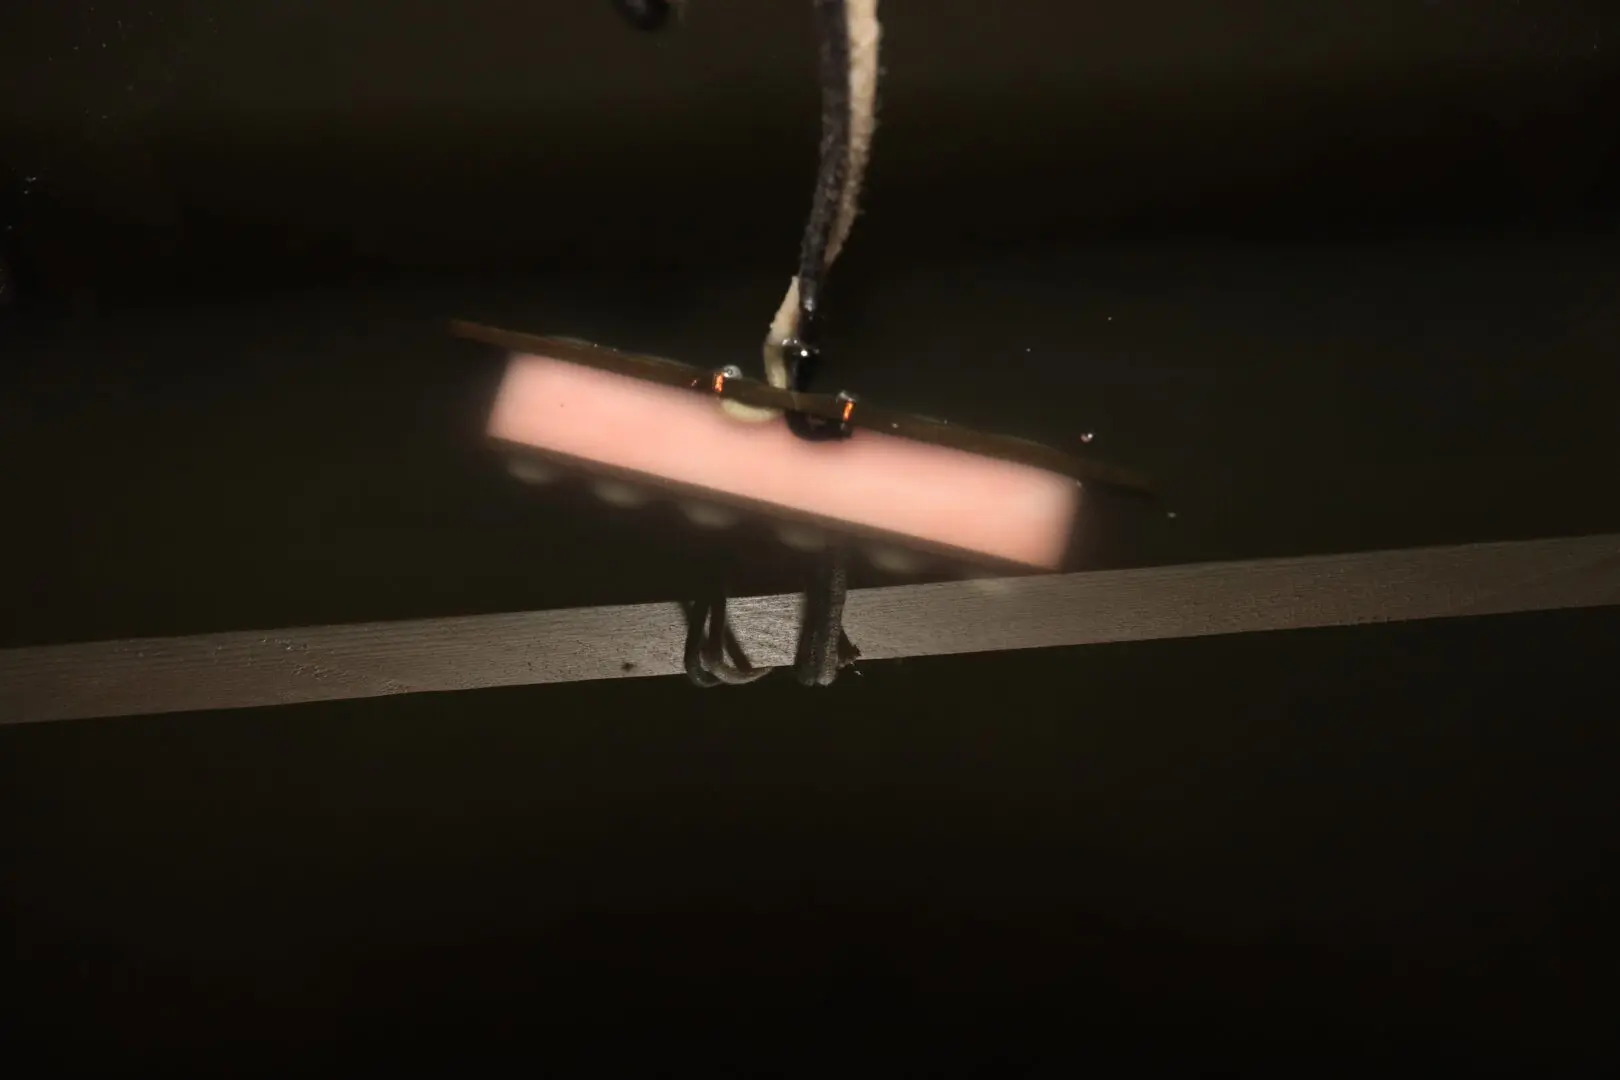
After your wax mixture is completely melted and at about 65 degrees Celsius, gently place the pickup in the colander and lower it down into the pot of melted wax, completely submerging the entire pickup.
Step seven:
Don’t worry! During the first few minutes, the entire pickup will be covered in a cold, white wax. There’s no need to panic!
It’s completely normal because the pickup is cold enough to solidify the wax around it. After a few minutes everything will warm up and the wax will become clear.
Bubbles should start coming out of the pickup while air is displaced by wax inside the pickup.
Wait until all bubbling stops! It will take 20 to 30 minutes…
Step eight:
Remove the pickup from the melted wax letting any residue drip back into the pot, then gently place the pickup on a paper towel to cool down. If it’s a covered humbucker place it on the towel face down.
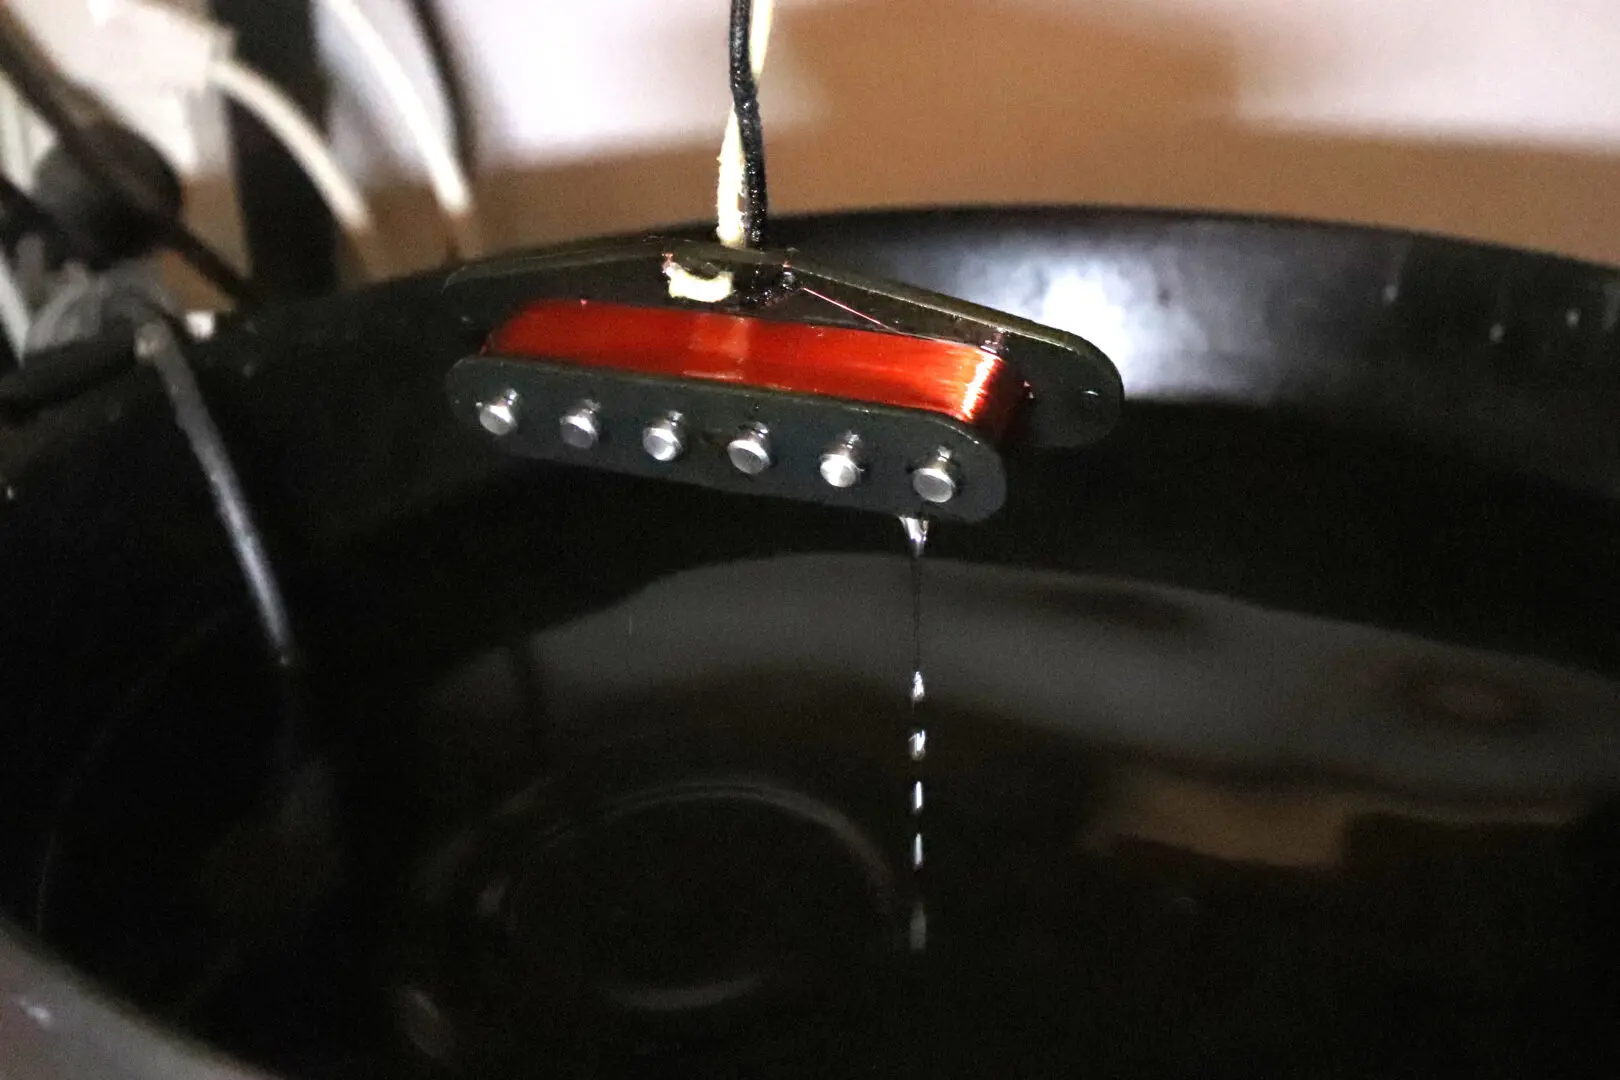
Step nine:
After it has cooled down, gently pour some naphtha on a ball of cotton wool (far from any heat source and in a ventilated area!! It is highly flammable) and clean the pickup from all wax residue, avoid touching the coil as much as possible!
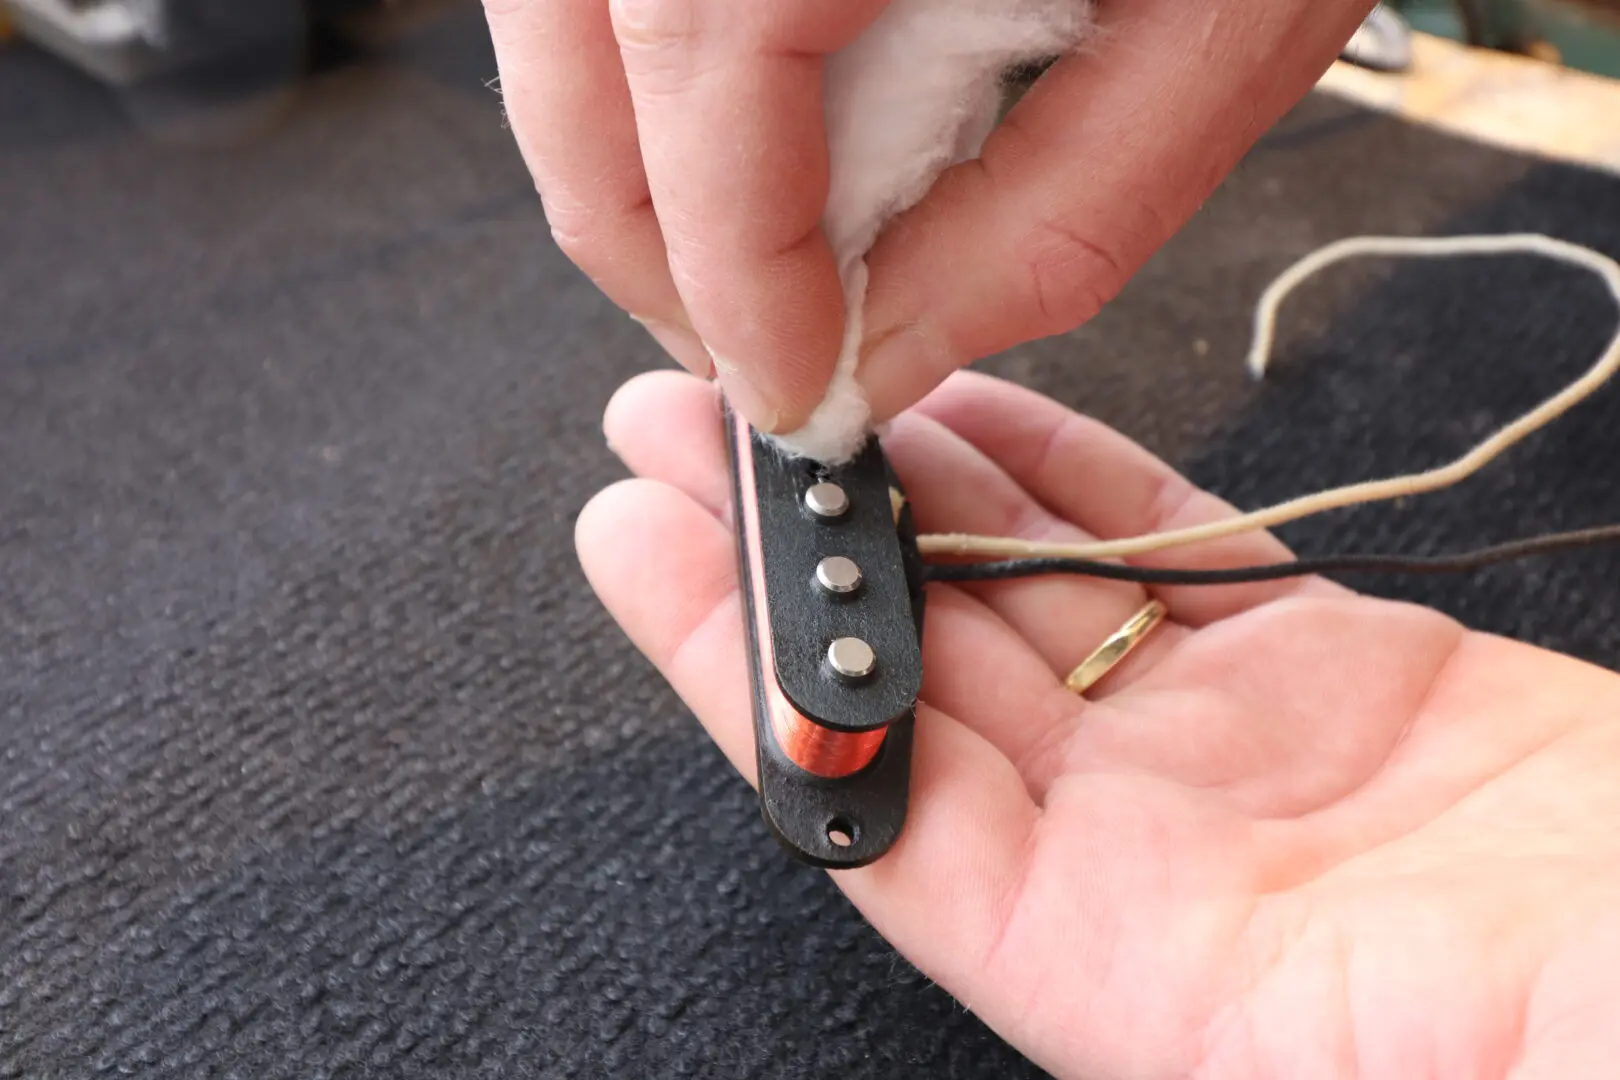
Step ten:
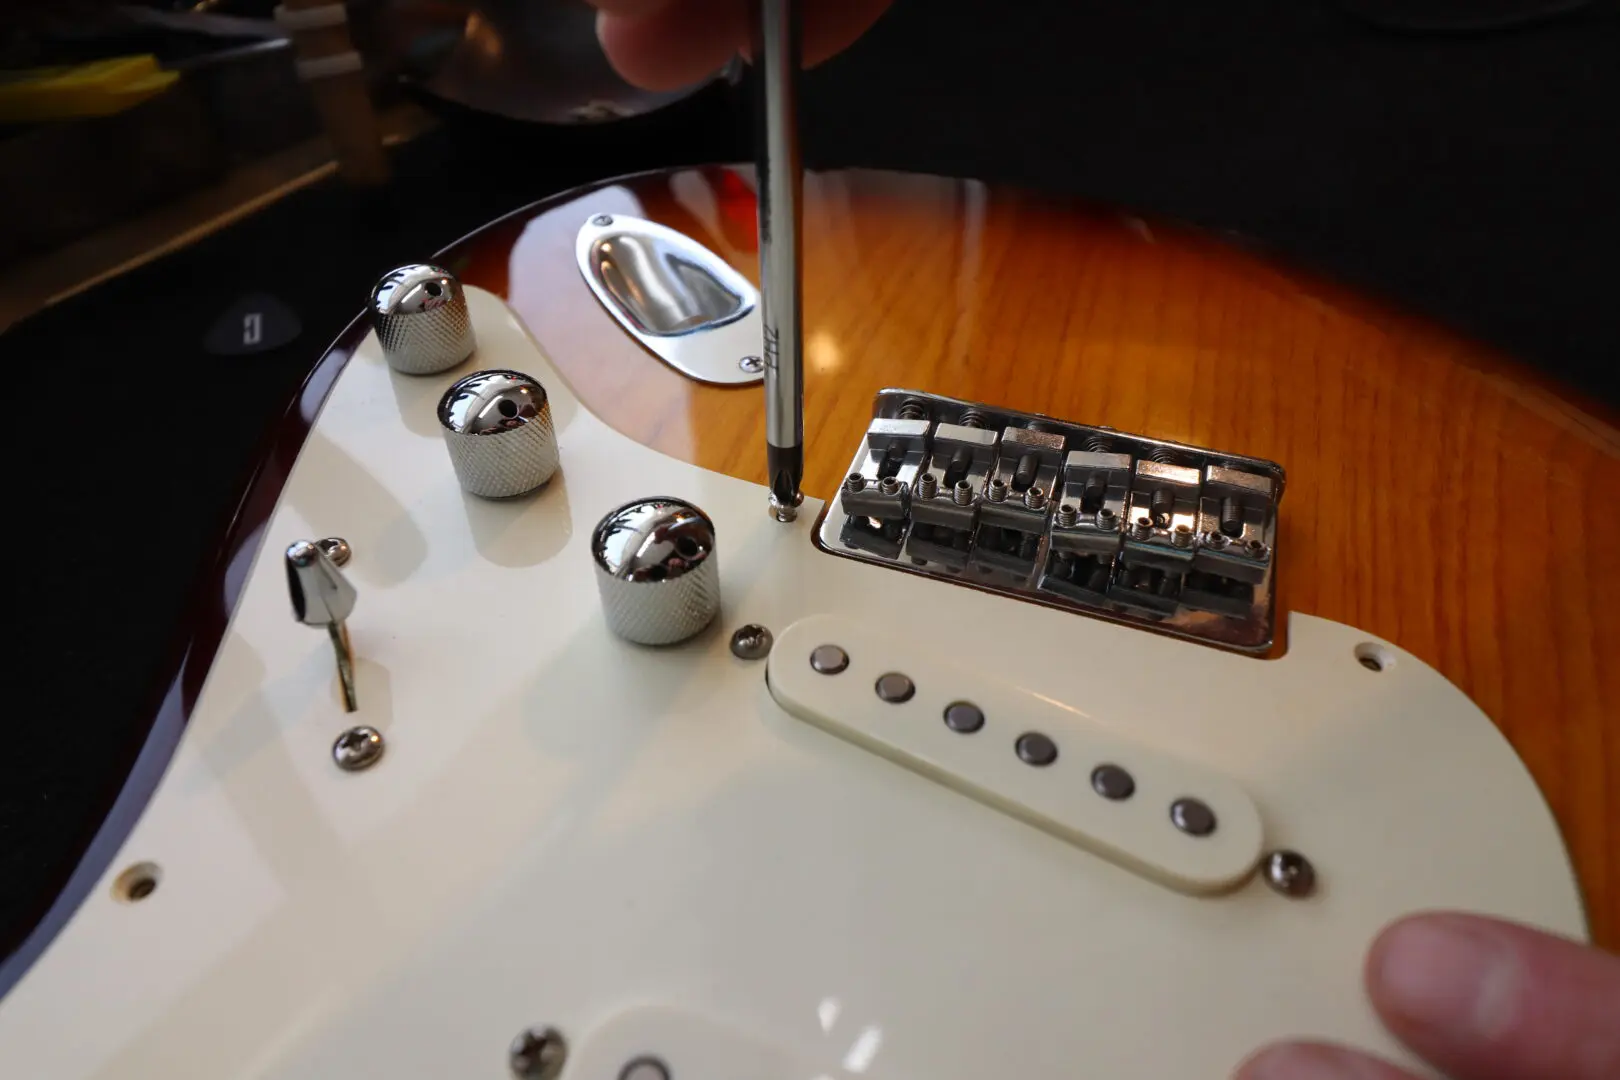
Reinstall the pickup in its place on the pickguard or mounting ring and solder the disconnected wires back in their places. Place the pickguard back on the guitar and screw the first four screws to hold everything in place.
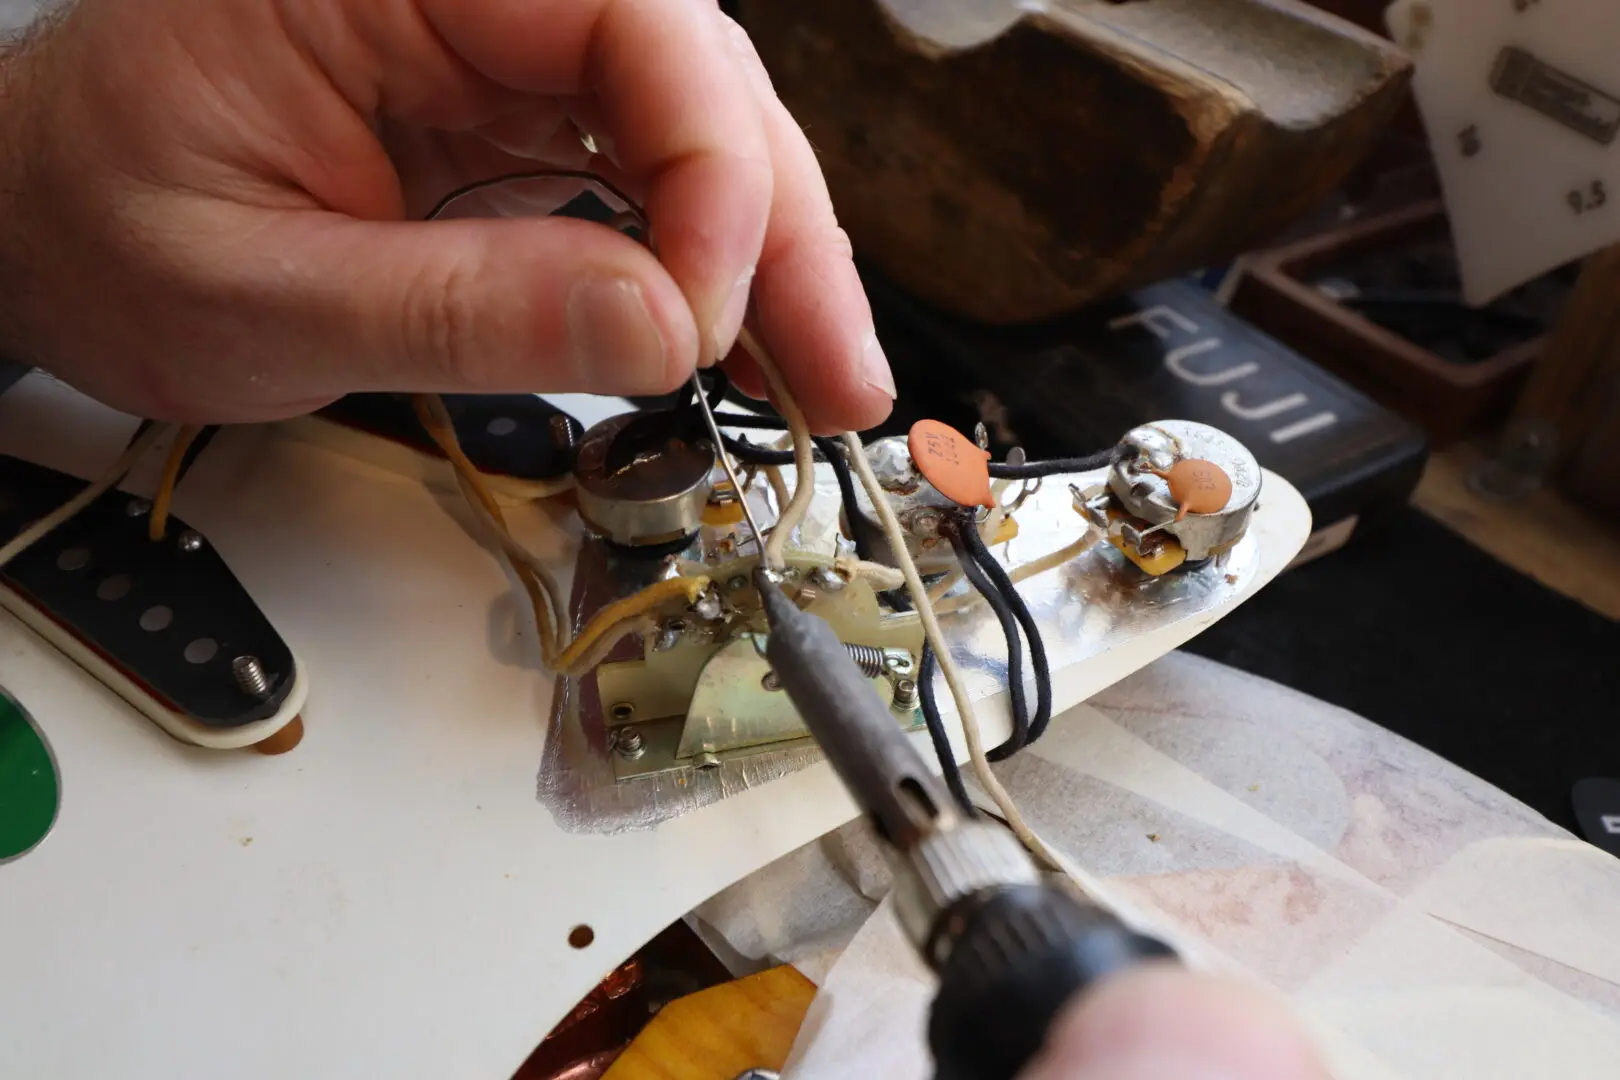
Step eleven:
Restring the guitar and check to see that everything is functioning properly. If so – screw all other screws back, tune the guitar, adjust pickup height, and rock on!! You are done!
Note that the internal parts of the pickup stay hot longer than what can be felt on the outside, so we recommend judging the tone you receive from the pickup only after leaving the pickup to cool overnight.
We really hope this article was useful to you. All there is to know about this subject is right here for you. If you have any more questions, if there is something that is misunderstood or if more help is needed please feel free to contact us, we are more than happy to assist.
Alone Sage,
Coils Boutique

