How to install and replace single coil pickups on a Stratocaster
(Standard wiring)
Can I install or replace my new Strat pickups on my own??
Well, sure you can! This process can be done at home, using just a few basic tools and a tiny bit of technical ability. We are here to help you out, hopefully saving some money and having fun with maintaining your instrument. Follow these instructions and success is almost guaranteed. If you are lacking confidence – let a professional do this for you, but replacing pickups for your Strat is not that difficult.
We will need:
Screwdrivers – Flat and Cross, Cutter, Soldering Iron, String winder (Recommended), Wire stripper, Allen key – any size
There are many wiring options and you can check our other articles about series/parallel etc. This article is a step by step guide for a standard wiring installation.
Follow these steps and photos for a fast and easy process:
Step 1:
Before we install a new pickup in a guitar we must make sure our phases are correct. Every pickup has a certain phase, made by a combination of winding direction and magnetic polarity. Most Stratocaster pickups are made by default to work with other standard Stratocaster pickups, but misplacing the pickup (i.e installing a middle pickup in the bridge position) or mixing up the colored wires might result in non hum-canceling or out-of-phase effect in the “in between” positions.
Make sure to read the installation manual before you start (usually supplied by the manufacturer), and make sure to color code the wires correctly and to install the right pickup in its designated position.
Step 2:
Set up a proper work table, and place the guitar horizontally on the table.
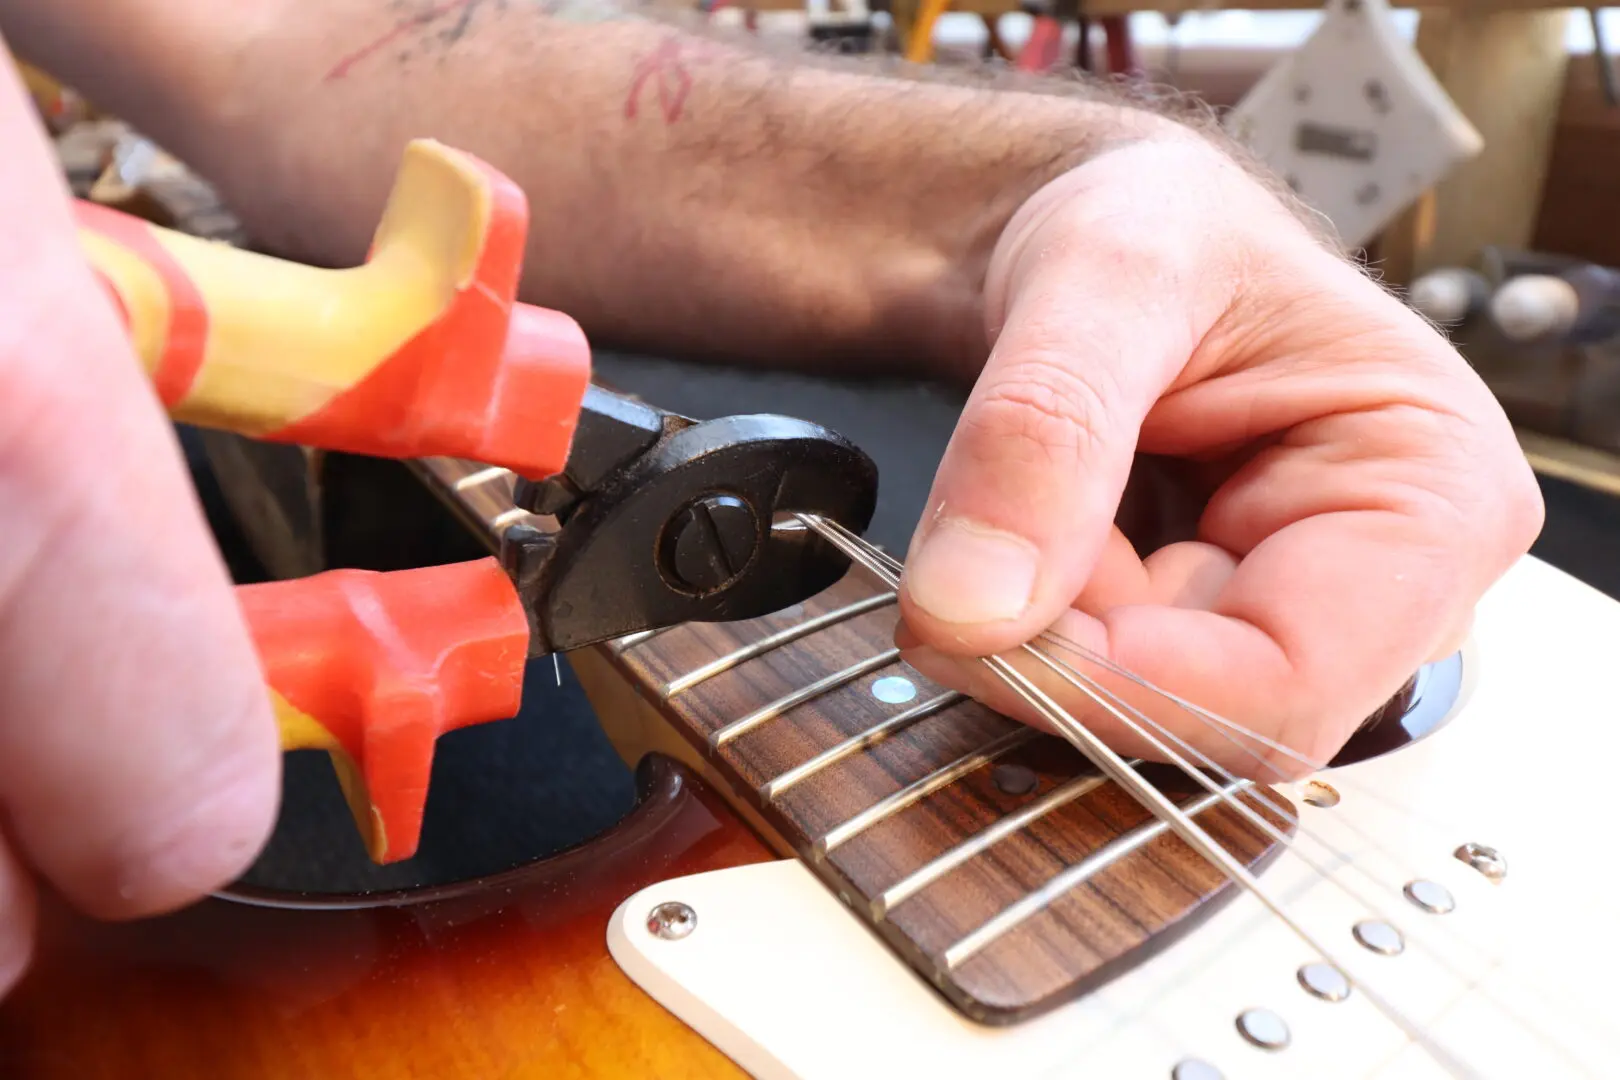
The preferred way is to unwind the strings to loosen them completely, then cut them off, remove them from the guitar and discard them in a trash can.
Step 3:
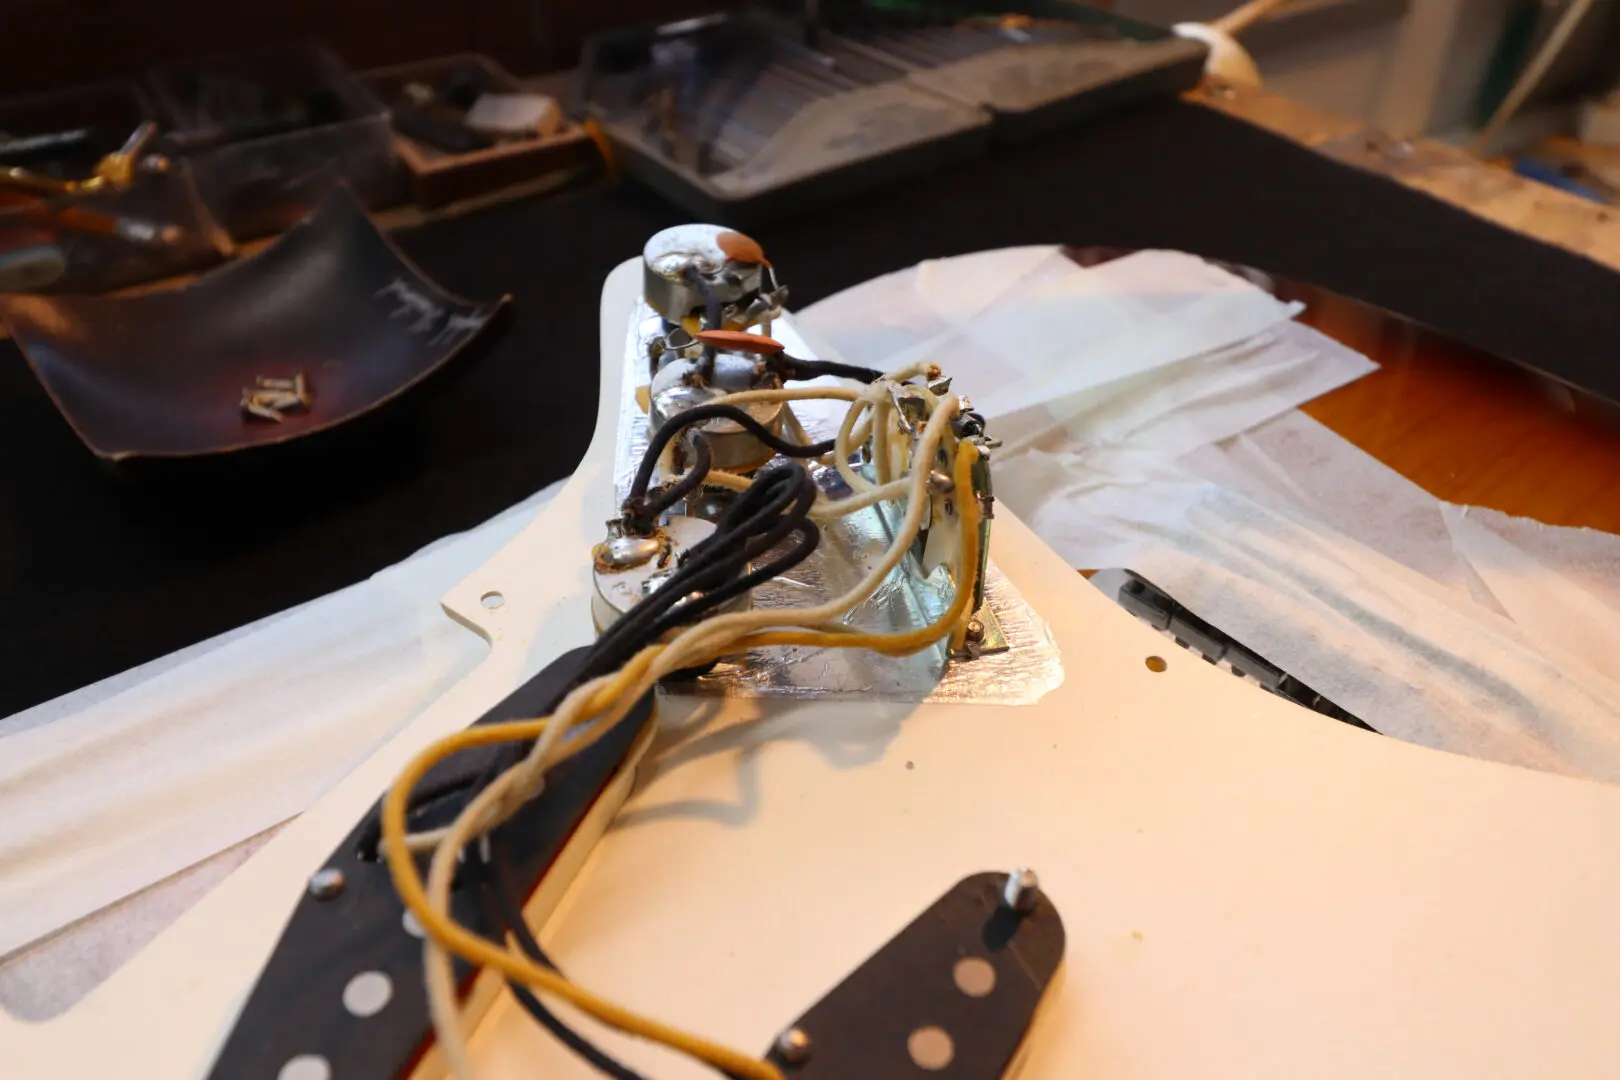
In order to protect the guitar’s finish, place masking tape around the pickguard, then
using a screwdriver unscrew all pickguard screws (PGS). Gently lift the pickguard.
Sometimes the extended fretboard overlaps the pickguard (like in the american standard or highway series) and may interfere with this process. Don’t try to force the pickguard out. You might need to loosen the neck screws and loosen the neck joint a bit in order to be able to lift the pickguard out.
Step 4:
Place the pickguard upside down and locate the wires connected to the pickup you are about to replace. Look closely and remember exactly where each wire is connected (we recommend you take a photo).
If you are replacing a standard Stratocaster single pickup, you should see two wires for each pickup. One wire of each pickup is connected to the switch, the other is connected to the casing of one of the potentiometers (usually the volume pot).
If you are replacing a single sized humbucker such as “hot rails” you should see one wide wire that contains 5 wires inside it, usually colored white, black, red, green and a bare wire. The most common wiring you might find is like so: One wire should be connected to the switch. The bare wire and another wire should be connected to the casing of one of the potentiometers (usually the volume pot). Two other wires would be connected to each other – soldered to another switch (usually a push/pull) or taped together and isolated (not connected to anything).
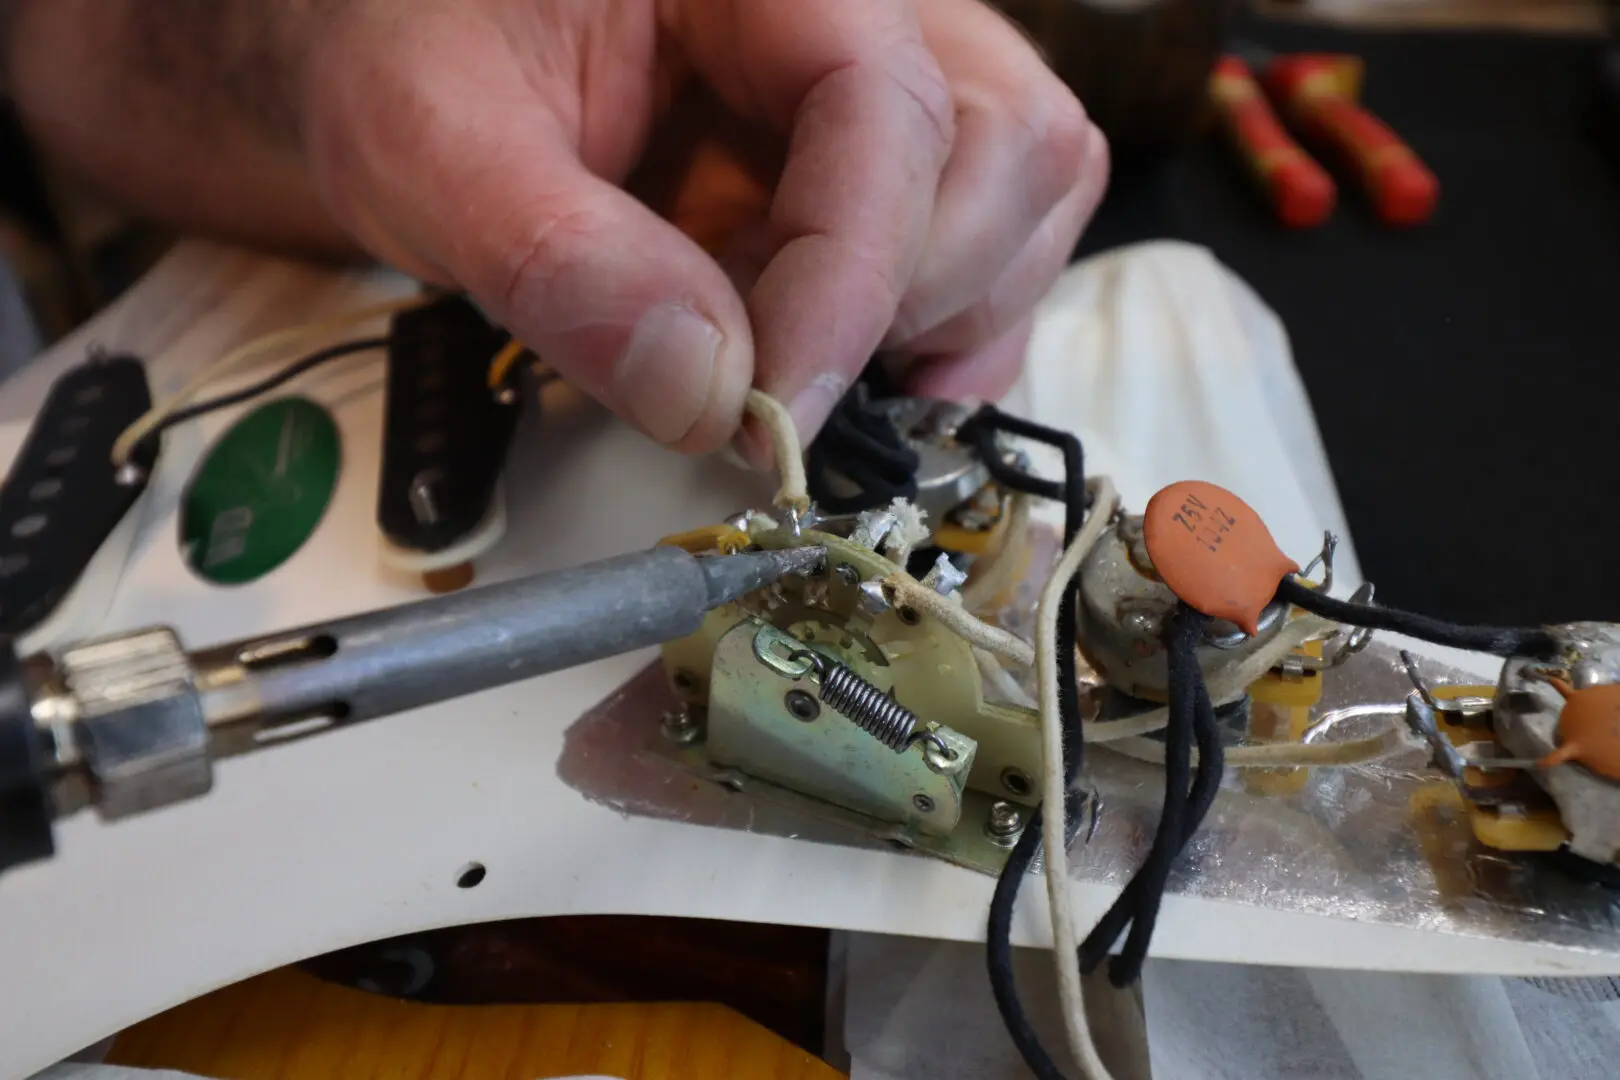
The most important connection points for us are the connection on the lever switch and the connection on the potentiometer casing. The new pickup will be connected to these points.
Step 5:
Using a soldering iron, disconnect all the wires of the pickup you are about to remove from their connection points.
Step 6:
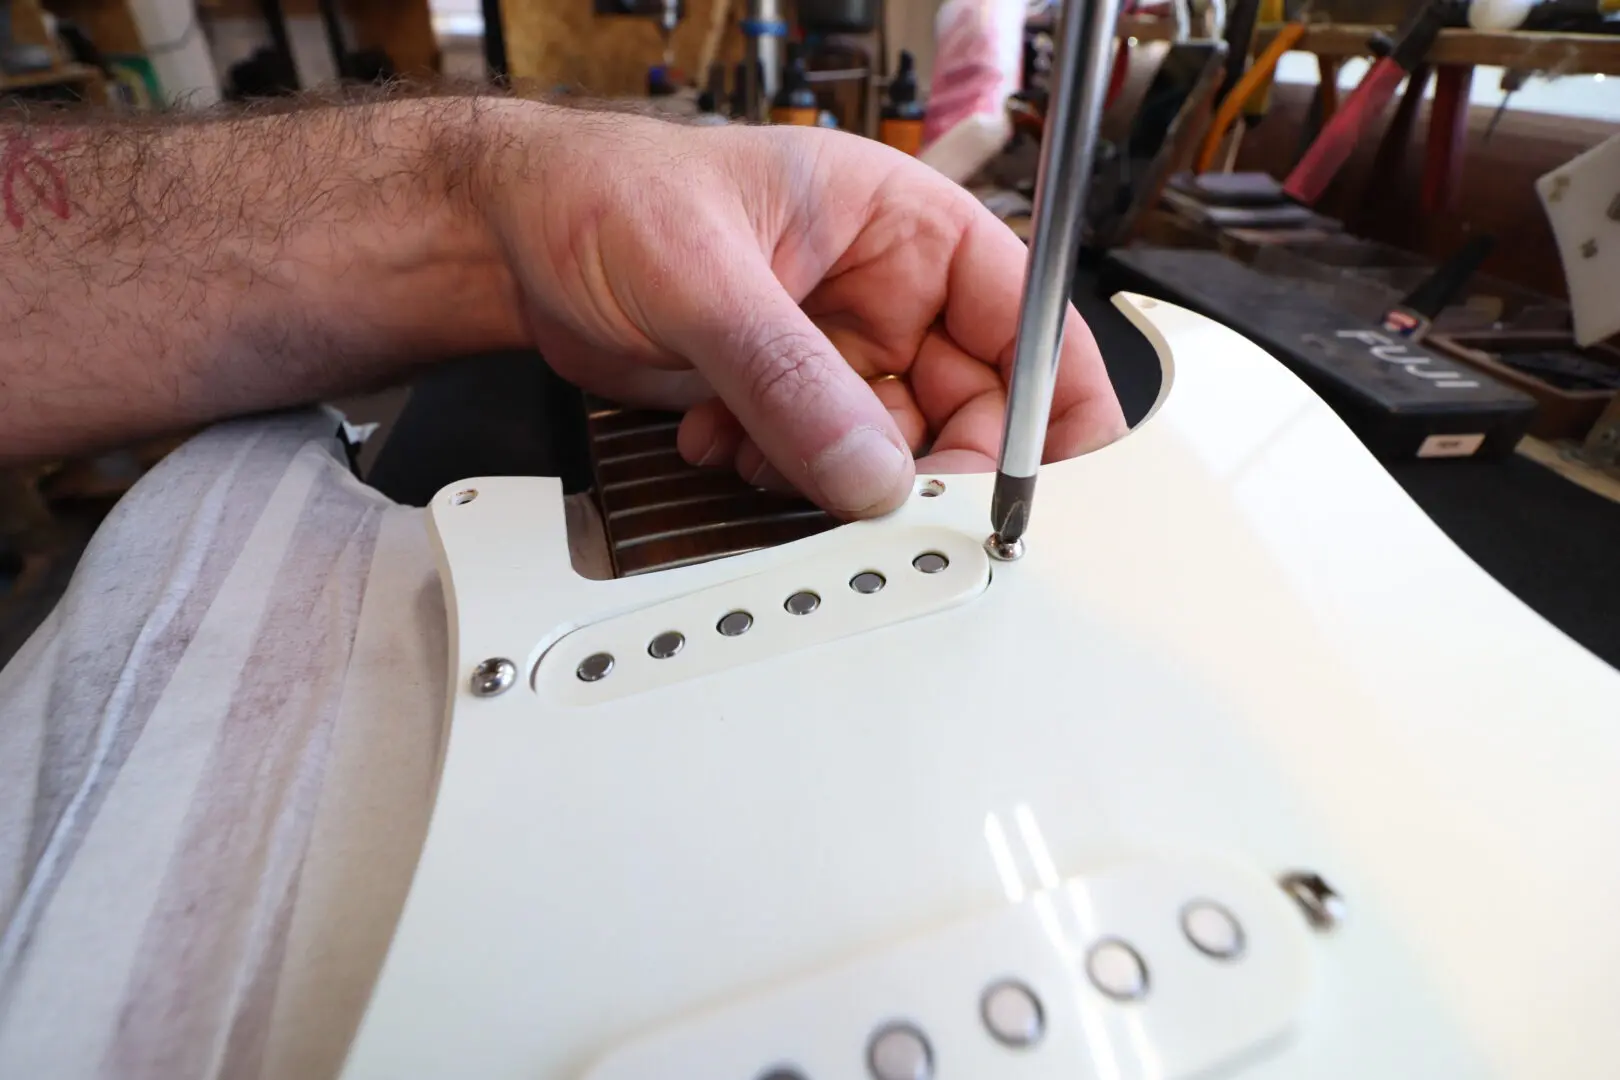
Flip the pickguard over. Now unscrew the two screws that fasten the pickup to the pickguard, until the pickup and its cover are free from the pickguard. Lift the pickguard, gently grab the free pickup and put it aside, be careful not to damage it.
Step 7:
The pickup mounting screws on the pickguard are usually fixed to their places by rubber tubes.
You can now replace the mounting screws with new screws and rubber tubing (usually supplied by the pickup maker) or use the old screws and tubing.
To extract the screws from the pickguard just pull the tube off the screws.
Fix the new screws to their places and push the rubber tube onto the screws.
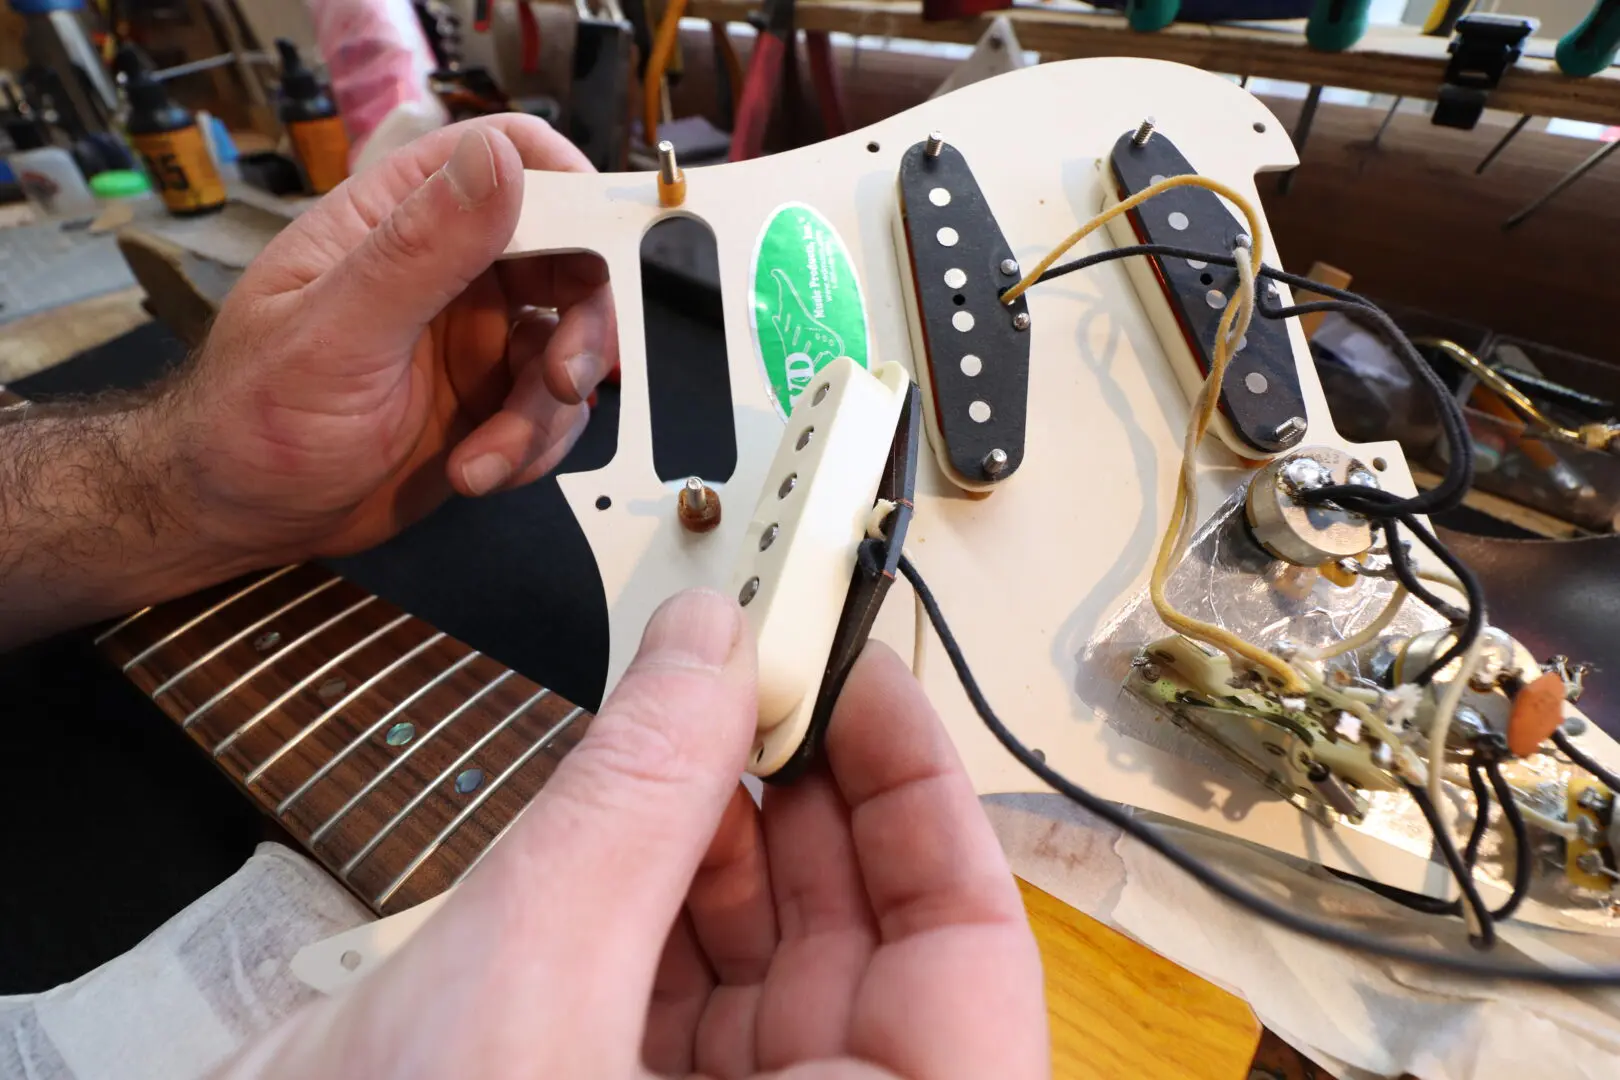
Step 8:
Carefully take the new pickup out of its packaging and screw it onto the new mounting screws. Make sure to install the pickup in the right direction, with the wires facing the direction of the bridge.
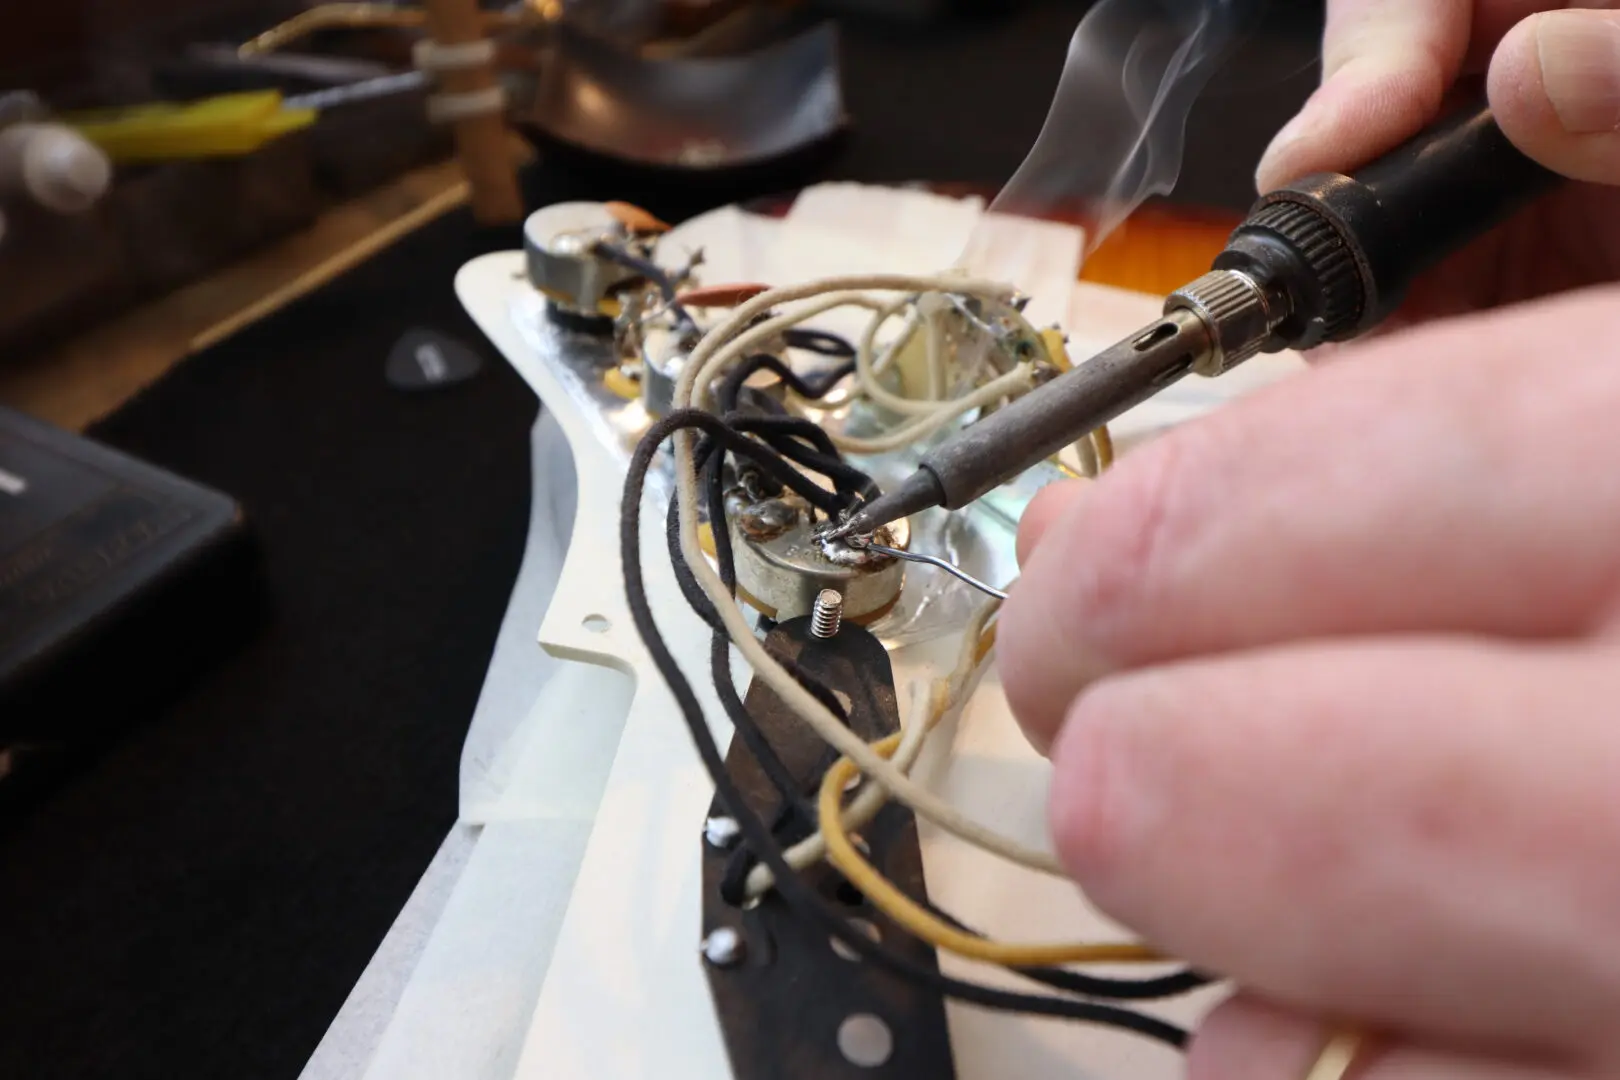
Step 9:
You can now shorten the pickup wires if needed. Be careful not to shorten too much. If you are not confident with this, you can leave the wires as they are.
Most pickups are wired with white or black wires, sometimes yellow, but theoretically can be any color the manufacturer chooses. Read the pickup’s installation manual to know which wire is hot and which is ground.
Usually the white wire is the hot and should be connected to the switch, at the exact connection point of the original pickup. The black wire is often ground and should be connected to the potentiometer’s outer casing.
Using a soldering iron with a little bit of soldering wire, solder the wires to their designated points.
Repeat steps 4-9 for all the pickups you want to replace.
Step 10:
You can now check to see that everything is in working condition. Place the pickguard face side up and plug the jack in. Turn the amp on. Make sure the volume knob is not set to zero. Now use a small Allen key to tap every pickup according to the position of the switch. If everything works well you should hear a booming sound through the amp when tapping the magnets of the pickups.
Step 11:
Place the pickguard back onto the guitar, checking all wires are running freely through the guitar’s electronics cavity.
Screw back all the pickguard’s screws.
Step 12:
You can now restring the guitar and tune it. Set the desired pickup height.
Make sure to level pickup heights according to each other and according to differences in string volume.
That wasn’t so hard, was it? The Fender design is simple and elegant. It was invented especially to simplify the build process and is extremely modular, enabling many modifications without too much hassle. We hope we helped you save a buck and have some fun with your guitar.
If you have any questions regarding this article please feel free to contact us at Coilsboutique.com.

